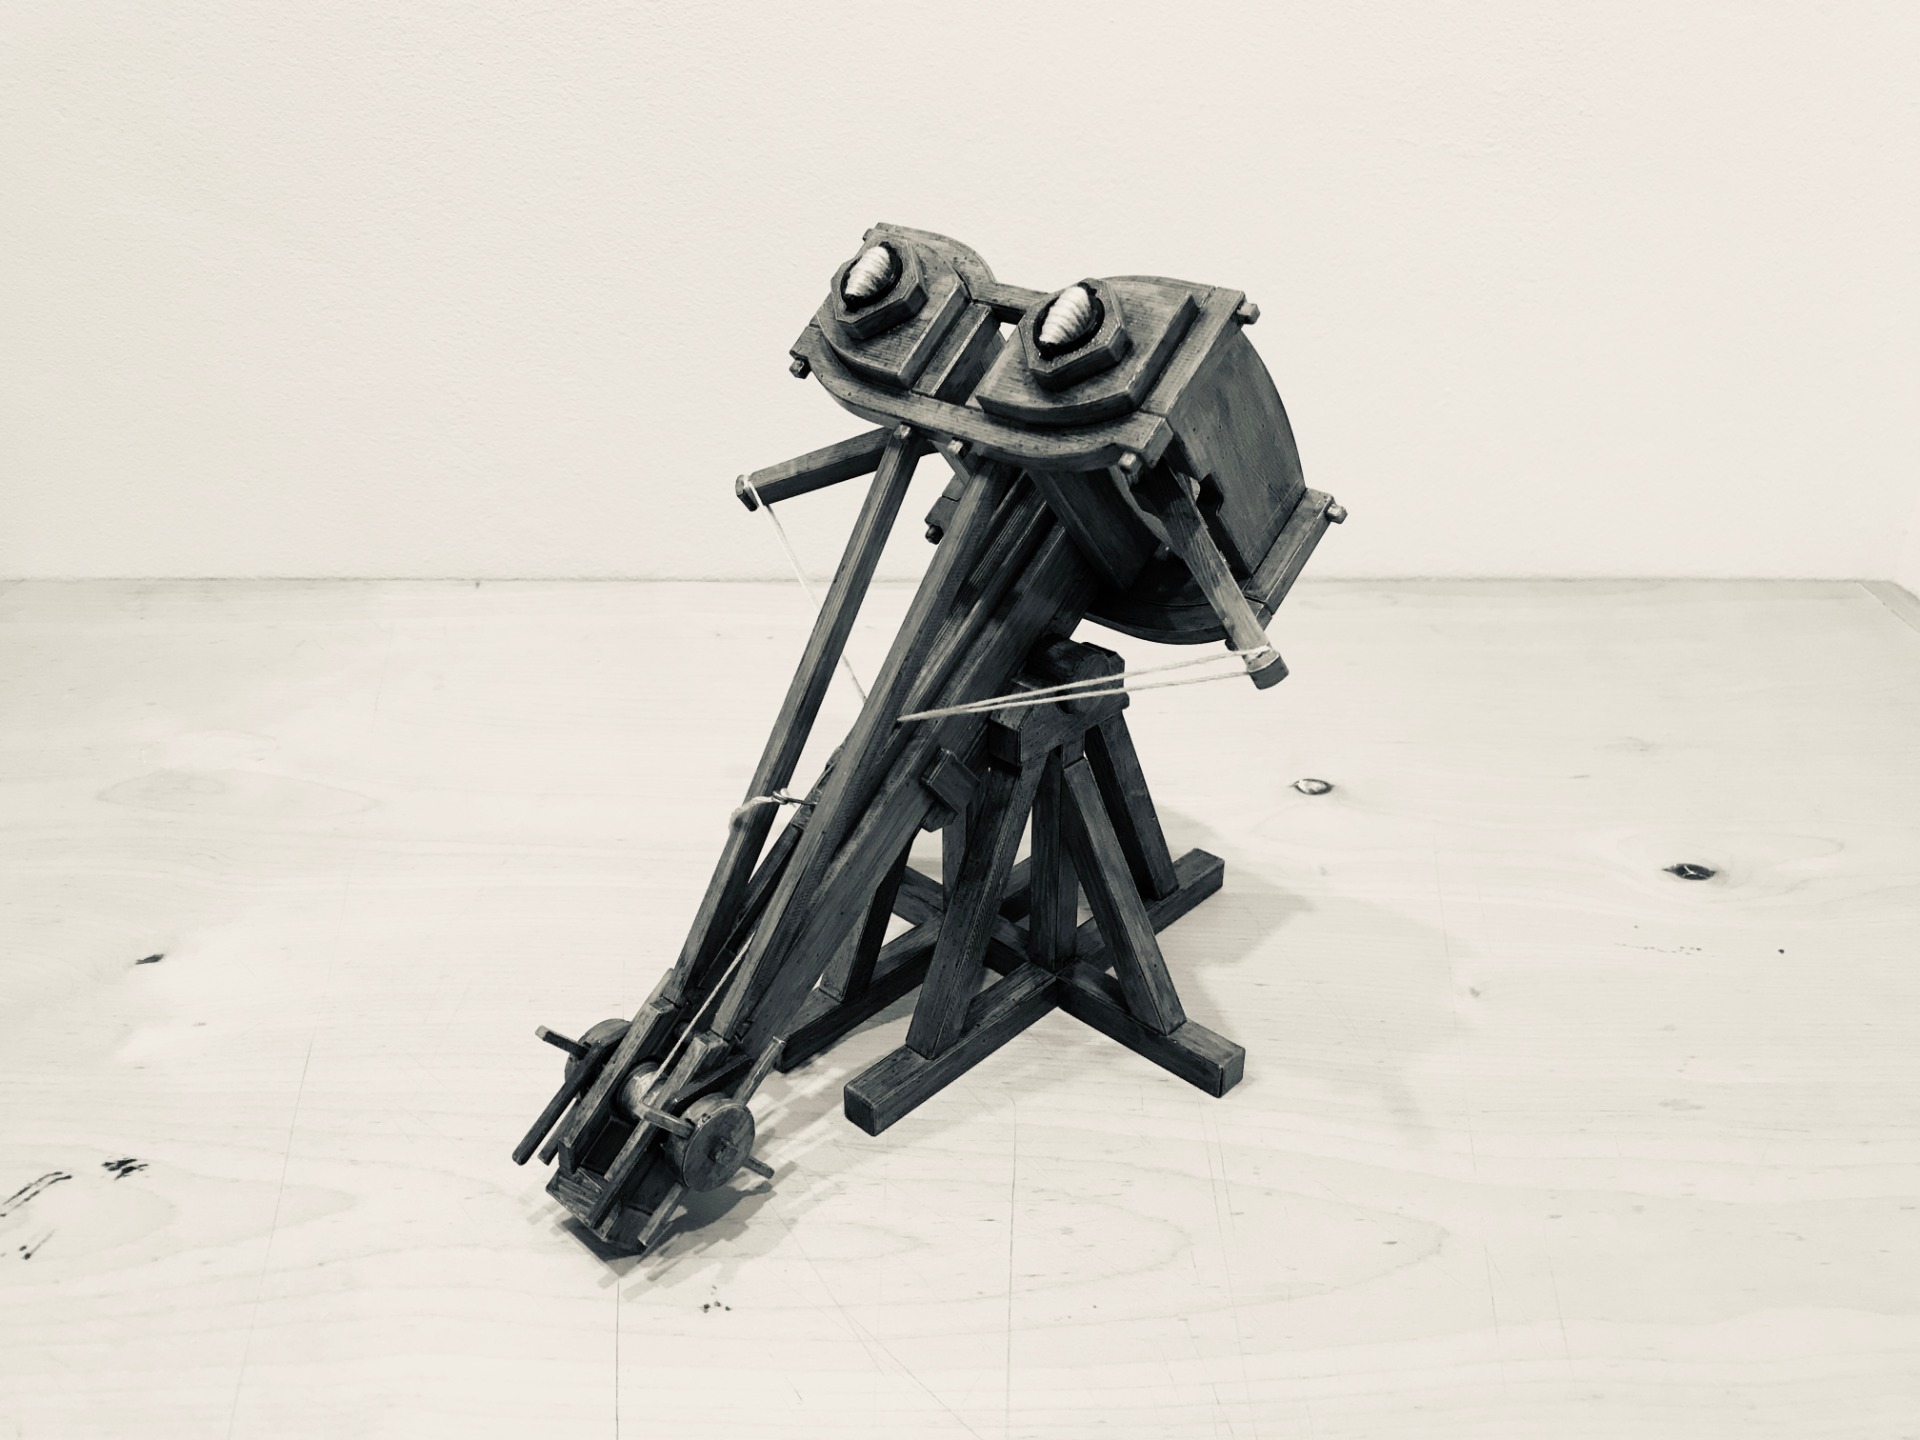
Ballista guide
Length: 7,8" (20 cm)
Width: 7" (18 cm)
High: 6,3" (16 cm)
Note: Press the F5 key to reload the page for the latest update.
Building guide
If you have a Dark Brown colored kit, then use only a scalpel to remove surpluses from print if you find any. No painting needed, just follow the building and winding of the thread.
The following construction was performed after two layers of paint on an Ivory colored kit which is currently being replaced by Gray-white due to market unavailability. Results are very similar.
To fold BASE, it takes little force to assemble. First, insert the lower part and then the upper part until it's locked. Abrasions may occur during assembly, which we will repair after the overall assembly.
If the model is painted, then it is good to stick protective elements such as under furniture on the bottom to prevent scratches.
Assemble the shaft for charging rope and the brake. The holes on the shaft should be through. Later, we use a needle to pass the rope through them.
The charging mechanism made after 02/2021 is newly simplified for better durability and easier assembly. It does not contain small fries because they are part of the whole round. A piece of wire is enough to secure them. Make sure the teeth are rotated correctly otherwise the brake will not work.
Follow photos to assemble the MIDDLE part. Don't forget to insert grey colored rope pulley on the wire before folding. Every wire you see in this guide is made from a paper clip from KIT.
Winding ropes for individual shoulders is quite time-consuming. Lately, during assembly, I have been speeding up my work by using a double cord. I insert a needle on one side and make a knot on the bottom black stopper. Work is easier and there is no difference.) If there is no extra rope for the charging mechanism in the kit, leave a reserve of approx. 20 "(0.5 m) from each rope for later. The reserve is delivered in the kits after 02/2021.
To insert the ARMs, first find the center with a toothpick. Ideally, turn it to a vertical position as in the photo and insert arm. Use small pliers for a better opening. This will make the arm ready to fire. Black plugs can be turned to increase tension, but they need to be raised slightly. Usually, you rub color on it a bit, so be so careful. You can lift it with two small screwdrivers and then turn it carefully. Abrasions can be overpainted.
To prepare CARRIAGE firstly make release mechanism from the wire. At the end, use small metal, rod to make an eyelet for rope.
Turn carriage and from wire make eye for threads.
For loading get 20" (0,5m) of thread you saved before and use it to make carriage. Use a needle to prepare thread as shown and tie it to the arm.
Wind the thread on the right side around the shaft at least 3-4 times.
Then wind at least 4 times thread on the left side in the opposite direction. Do not turn the shaft just wind it by hand until it's like this.
End by tying up to the carriage. All threads should be taut. Seal knot with instant glue. Now, the carriage can be moved up and down by rotating shaft. At first, it may be difficult to rotate due to paint but using will improve movement.
Add rope to the release mechanism of any length you like and insert prisms to the loading wheel. The longest goes through and 2 shorter to the stop.
Insert the cylinder for the stand into the bottom. If he doesn't hold up much, it's possible to glue it, put paper or one side duct tape between body and cylinder, so it doesn't fall out.
The next step is to tie a rope to the shoulders. Firstly prepare the small loader by adding a small wire from a paper clip like on the picture.
The hook behind the loader must be long enough to reach the release wire. Also, create ropes on the shoulder with the loader in the middle. The needle will help.
At this point, it is possible to stretch the rope to shoot. Once the rope is stretched, tie a knot in the middle of the loader.
Now you can test if charging works. Add two planks and place the entire top on the stand.
Use the enclosed wrench to stretch the ropes. To charge, turn the key forward one step only at the bottom side. There is no need to rotate the top squares when the model is new and the ropes are fresh.
The ropes weaken over time, so it is possible to stretch the ropes again by turning the upper part with a wrench again by one step. Then the lower part and so on. Please be careful that too much-turning will deform the model and lead to a break.
For decorative purposes, I recommend loosening the ropes as it was at the beginning (last picture). Don't overdo it, it's still just model and have fun :)
If you have more questions please contact me.
© 2020 Created by Lukas Pydych. All rights reserved.
