Painting guide
Cleaning Kit parts
Most parts are cleaned of excess and supports that they raise during printing, but the parts need to be sanded a little. To do this, I recommend a small file that does not stain parts like sandpaper. Note that all parts are perfectly smooth on the side where printing started on the plate. On the other side, the printer head finishes printing and there are small extrusions. It is good to remove them with a file before painting as in the pictures.
If you purchased Dark Brown colored Kit then use the only a scalpel to remove surpluses from print if you find any. If sanded then material will brightens and it doesn't look good. So do only clear cuts with a scalpel. No washing needed after.
After removal, wash the parts in the sink with water so that small plastic sawdust gets away otherwise it will be visible after painting and not everyone may like it.
Before painting, build a model according to the guide to make sure that everything fits together well.
Painting guide - for Gray White (originally Ivory color) Kit
Why it's Ivory color? Somehow simulating wood paint looks best on this plastic background. The picture below shows tests on Pearl, White, and Elephant bone background (from left to right). Unfortunately, the Ivory color no longer exists on the market, so I replaced it with a gray-white color. The results are surprisingly very similar... maybe a little darker, so i suggest to go just with 2 layers. One big extra piece is added to the DIY kit on which you can try the color.

The paint may seems to be complicated but it is not. To do this, get at least one small soft brush with straight end and rosewood paint for the exterior wood of your choice. Personally, I used 2 layers of the wood color Herbol with a darker shade number 8409 as in the photo, but I would not be afraid of lighter colors.
Here is a very nice example from Arne from Belgium, who used WoodLover paint in 3-4 layers (shade - Natural Teak).
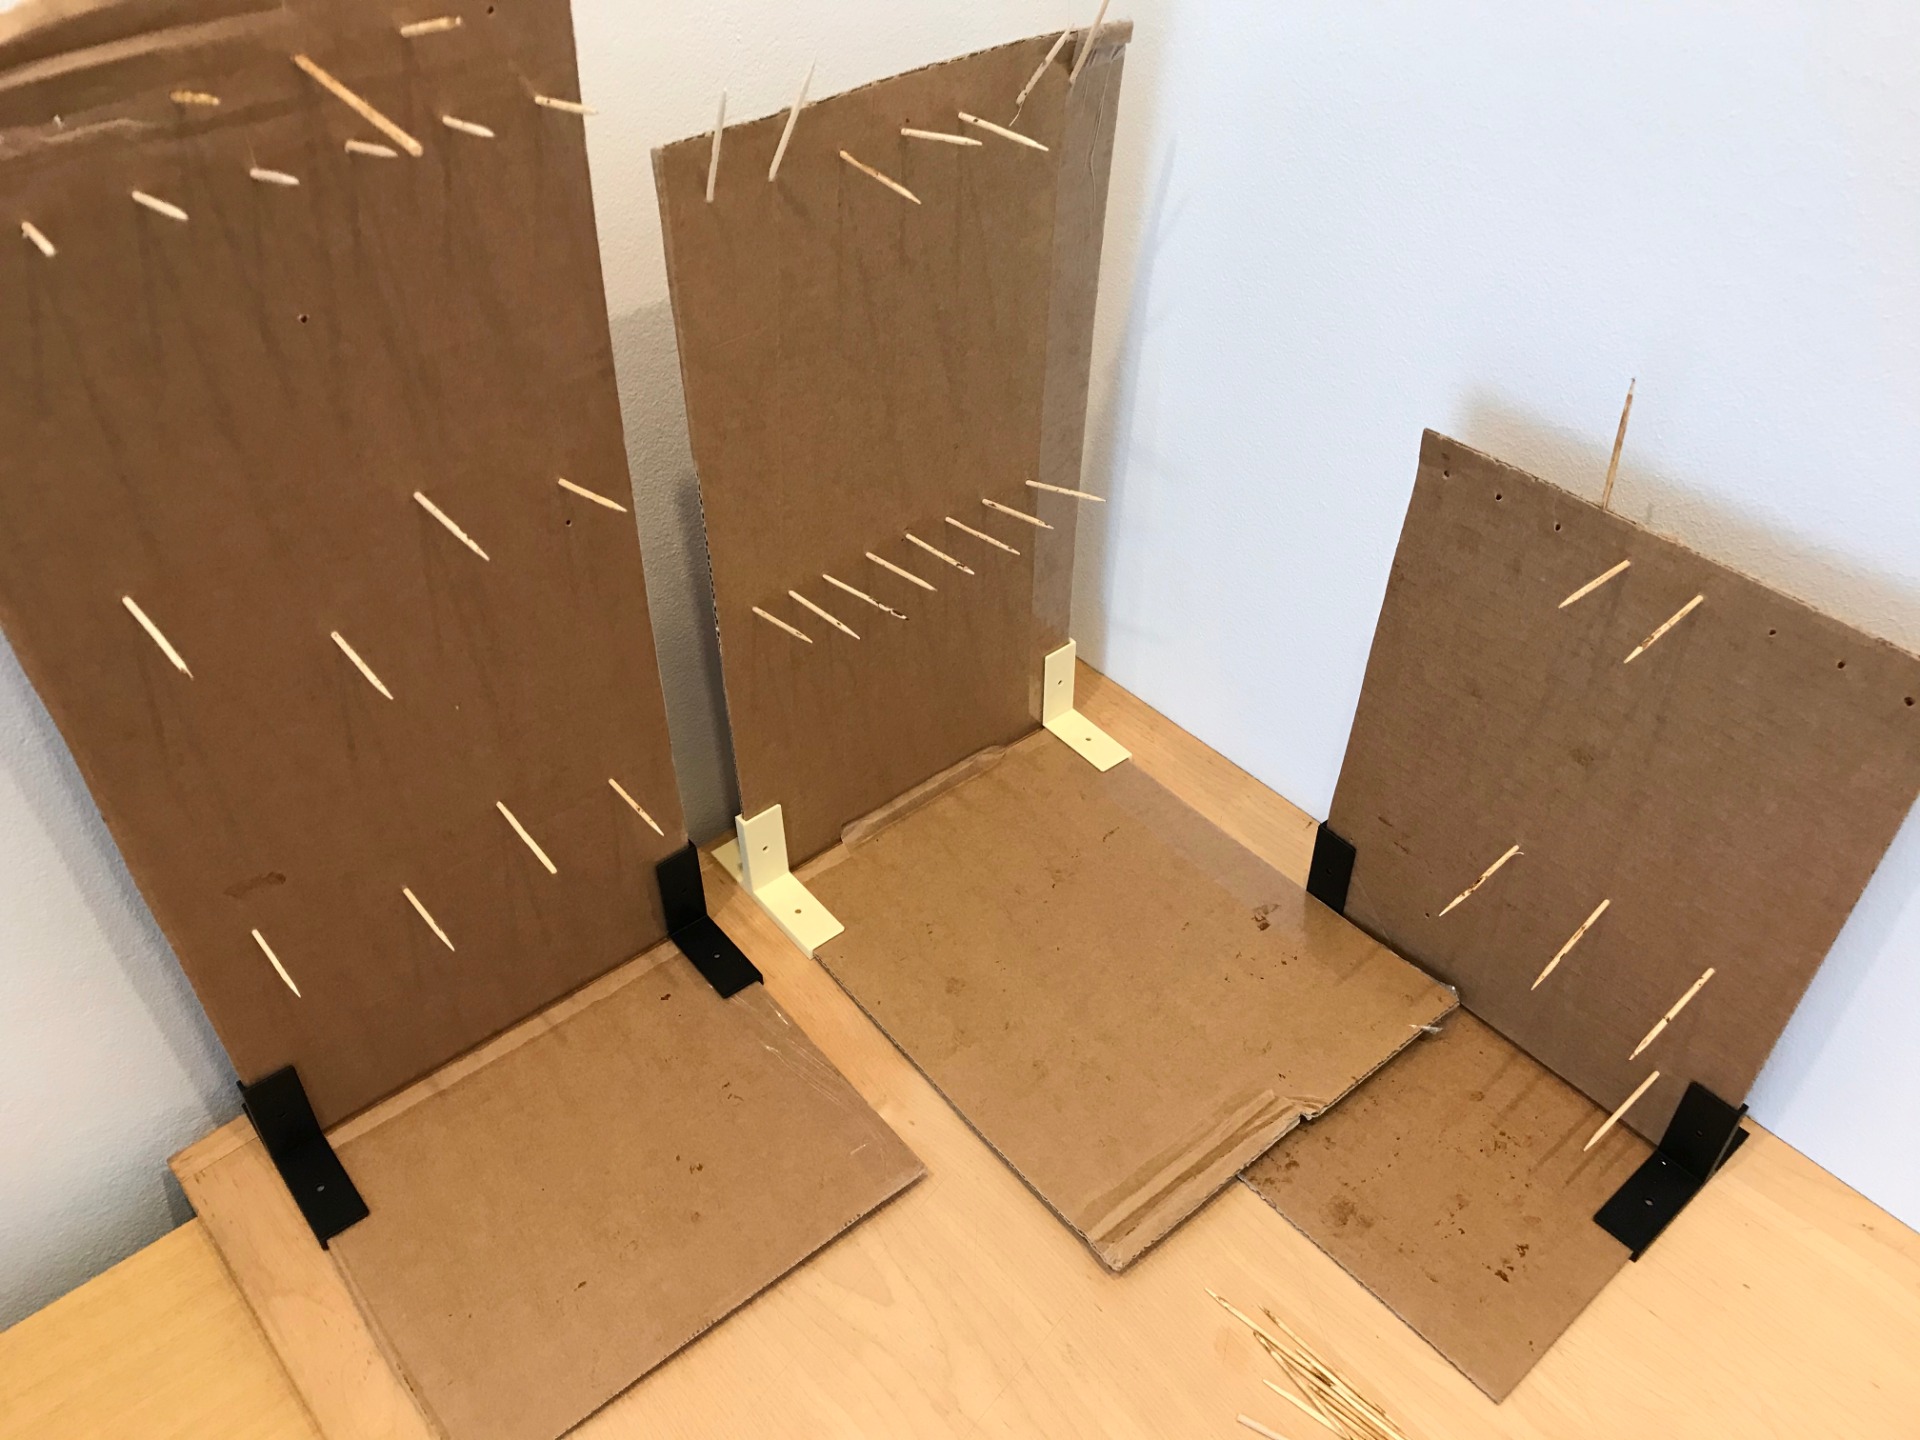
Prepare a storage area for painted pieces from cardboard and toothpicks. Of course, use what you already have at home.

Always spread paint perfectly with the brush. First, paint each part separately. Try to hold parts when painting so that you do not touch paint. It will be visible. Use holes or sides that are not visible during the final assembly to hold. After the first layer, let it dry for at least one day until paint does not stick to your fingers when touched. The first layer usually doesn't look very nice so don't panic.
Then, there are two options. Either assemble the model completely and then make a second layer with a smaller brush or paint the model in sections as in the pictures. The result should be the same just in the second case, the painting will be faster and more comfortable. If there are any abrasions during building, simply paint them after.
Note: The parts are solid, but if something ever breaks, write to me and I can send parts or file for 3D printer. Also, have in mind that PLA materials soften in high temperatures so best use the model in-door.
