Mangonel guide
Note: Press the F5 key to reload the page for the latest update.
Building guide
If you have a Dark Brown colored kit, then use only a scalpel to remove surpluses from print if you find any. No painting needed, just follow the building and winding of the thread.
The following construction was performed after two layers of paint on an Elephant bone kit which is currently being replaced by Gray-white due to market unavailability. Results are very similar.

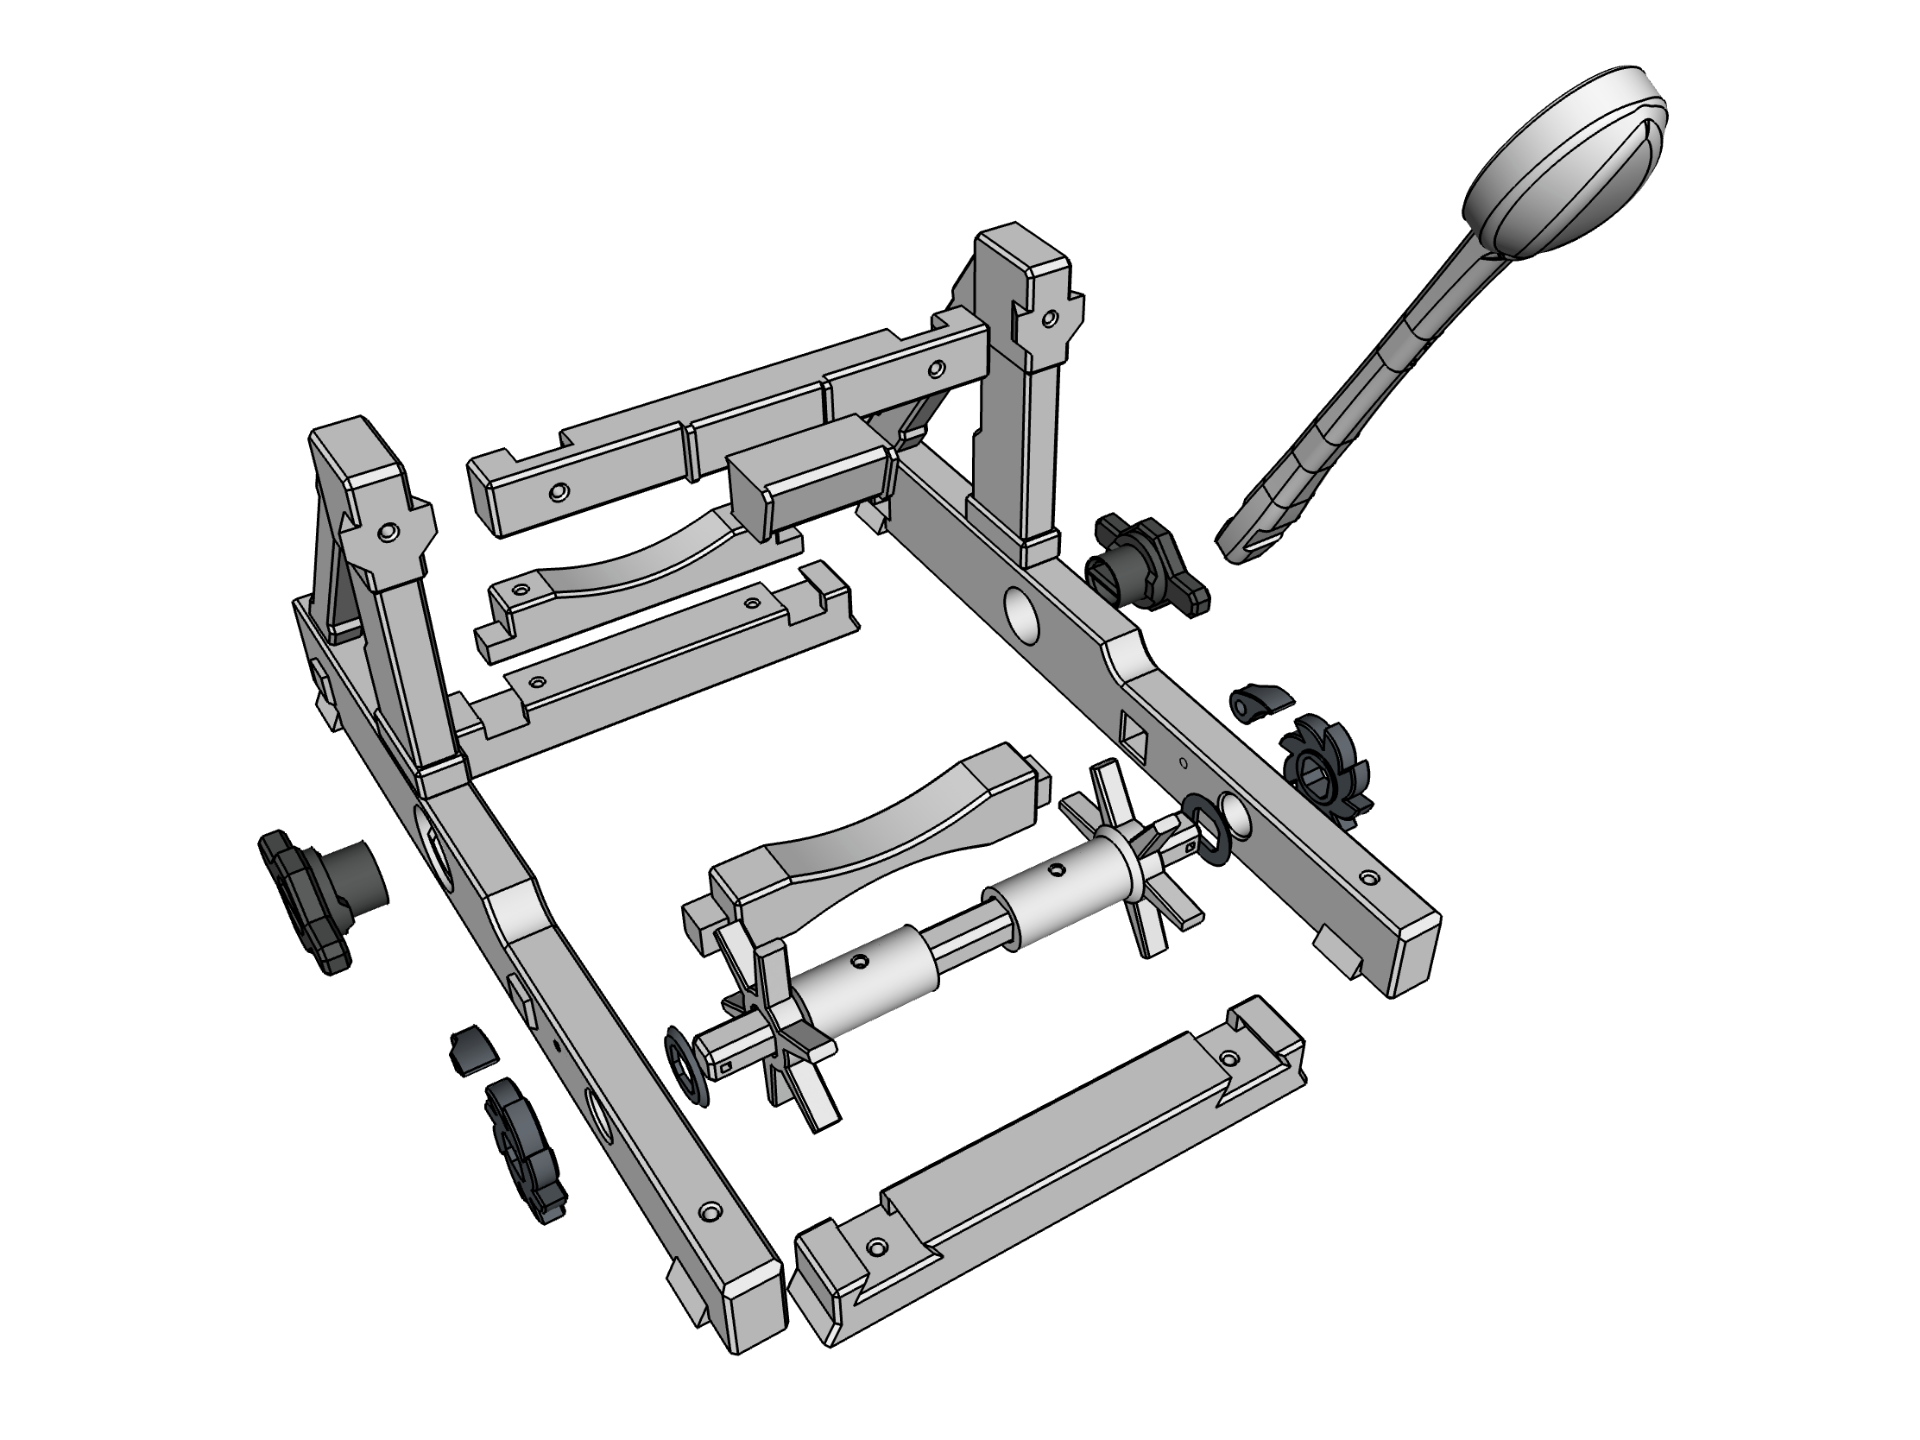
To build a BASE, firstly prepare model like on pictures.
Push top construction towards the table a bit and then move 2 big partitions outwards from the center of the model to lock it. Add nails to prepared holes. You don't need a hammer just a little force to push them inside.
Now with the help of small nails from the kit add two tiny stops so that they move freely downwards.
Cut THREAD in half, tie one part to the big plug so there is an excess of thread for about 14" (40cm). Use Double Dave Knot or similar and needle to bypass the plugs more easily.
Wind ropes like in pictures until at least 14" left.
To finish the rope you can do it like this. This is why an excess of the thread was done. No tie or glue required and looks nice.
To assemble SHAFT, it's necessary to first insert the geared wheel as shown in the picture and then lock it with a wire from the clip.
To prepare SPOON take a wire from the clip and make it like on pictures. Small pliers can help. Use thread and wind it by two layers to cover the wire and lock it with superglue on the bottom side.
Top PARTITION can be made in two ways. With or without an extension that increases shooting range. Without extension, model looks more realistic and has smaller range because these machines were fired from a higher ground (wall). So add an extension for better range and more fun.
Add the last partition to the base from top and lock it with nails from the kit.
Before you can mount the spoon find the center of the ropes with a small stick. Insert spoon and turn the plugs towards by 180 degrees. If you turn it more it can damage construction. The rope will be very tight at first but will weaken over time.
Note: If you do not use the model, loosen the rope by turning it back. You can always add new rope from your local haberdashery if needed.
The last step is to make the RELEASE mechanism for shooting. From the clip wire prepare followed item. Use small pliers to make it easier.
Take the thread and follow pictures.
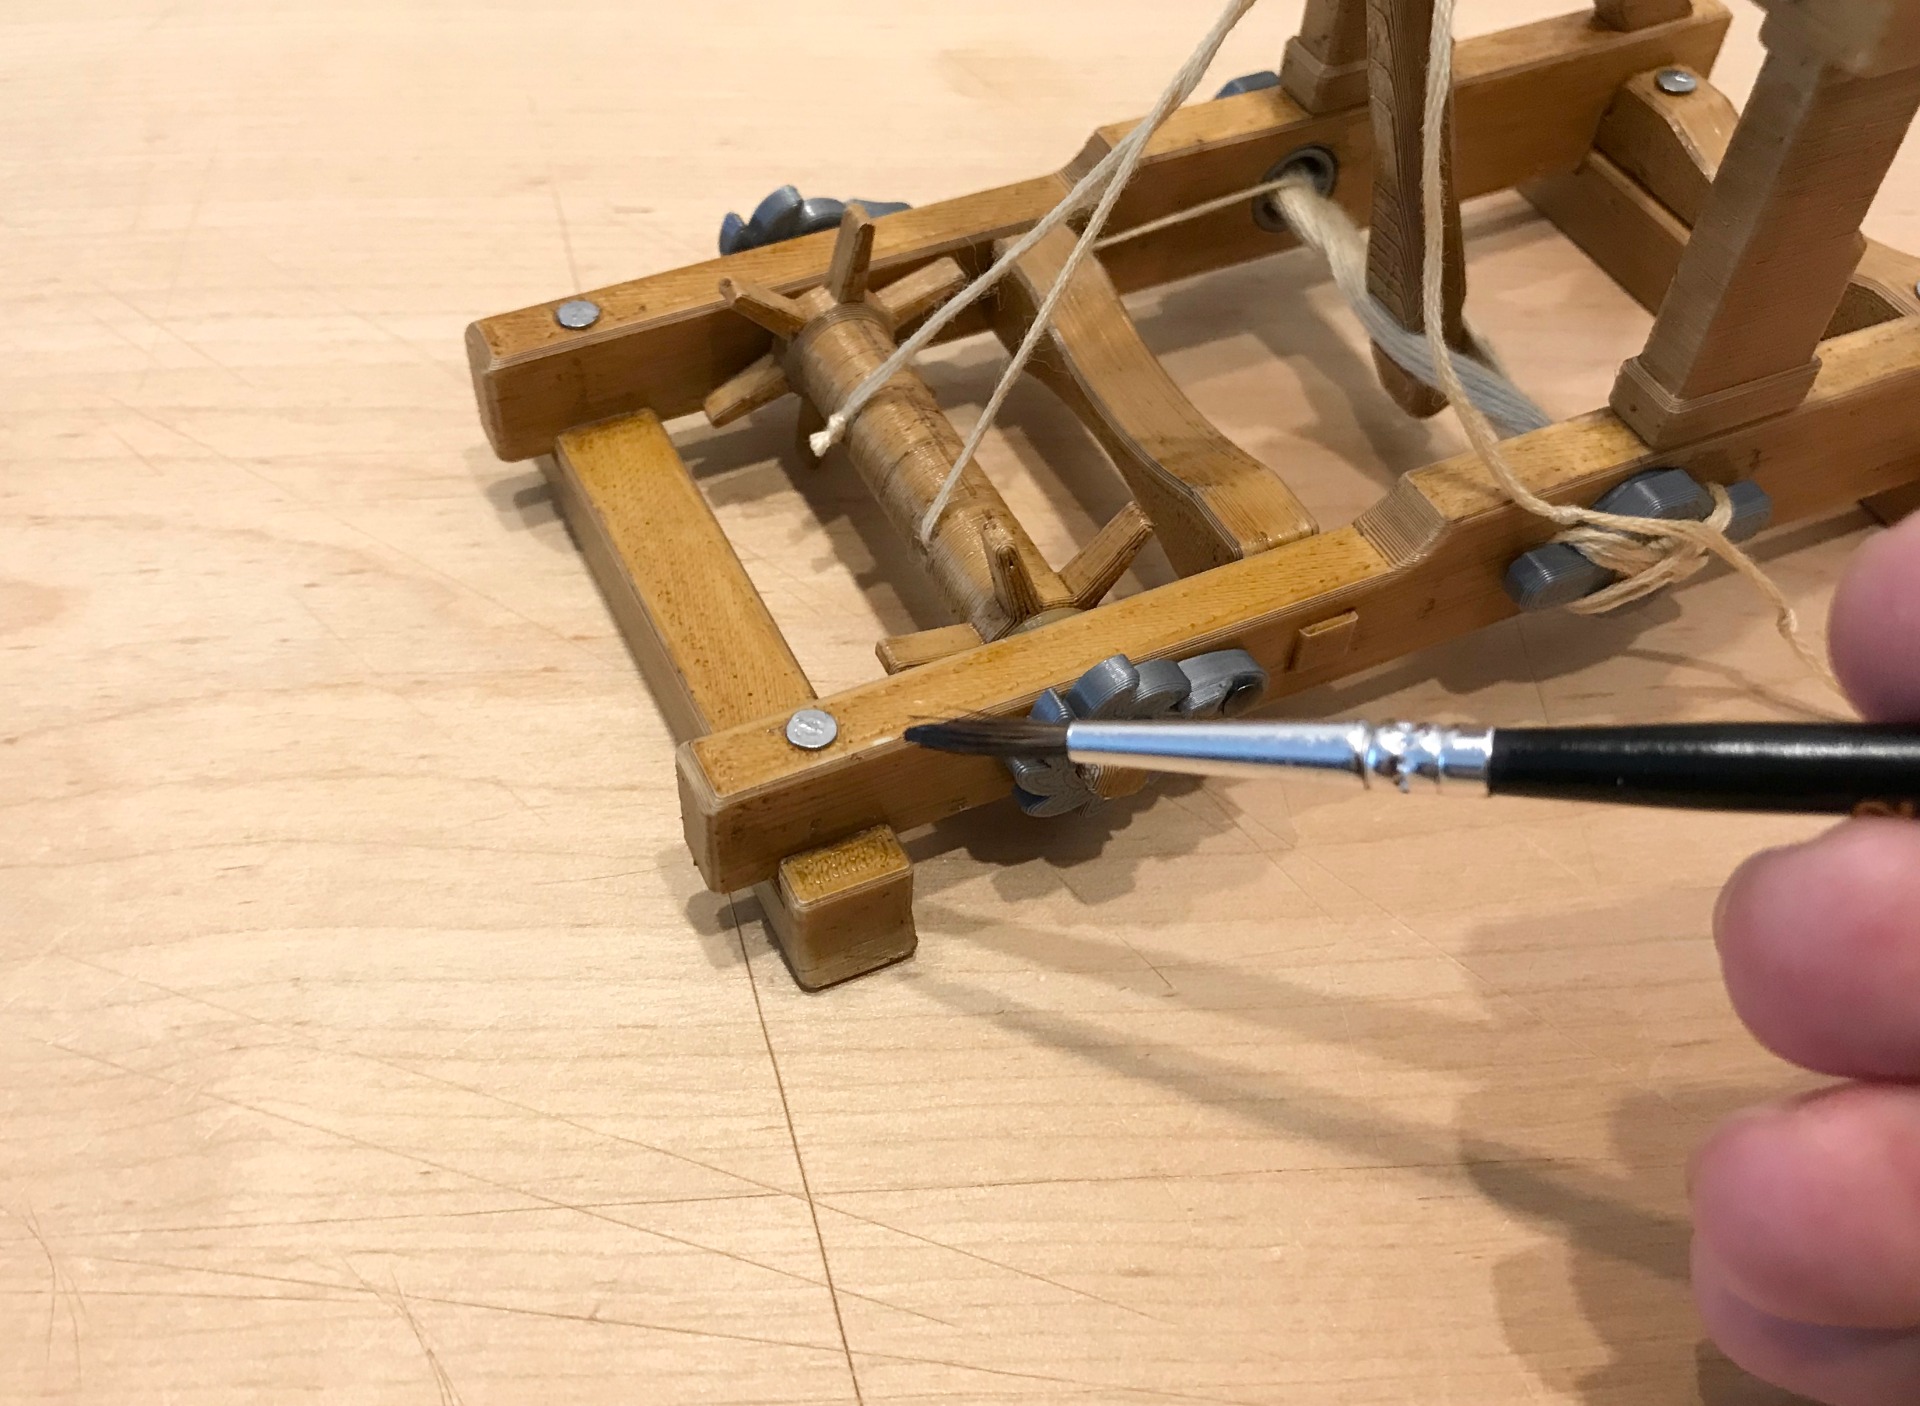
Lastly, carefully fix abrasions made by construction with small brush.

Finally...
The firing range is affected by the tension of ropes which can be manually adjusted as written before and the type of partition used. Don't overdo it, it's still just Model and have fun :)
If you have more questions please contact me.
© 2020 Created by Lukas Pydych. All rights reserved.
