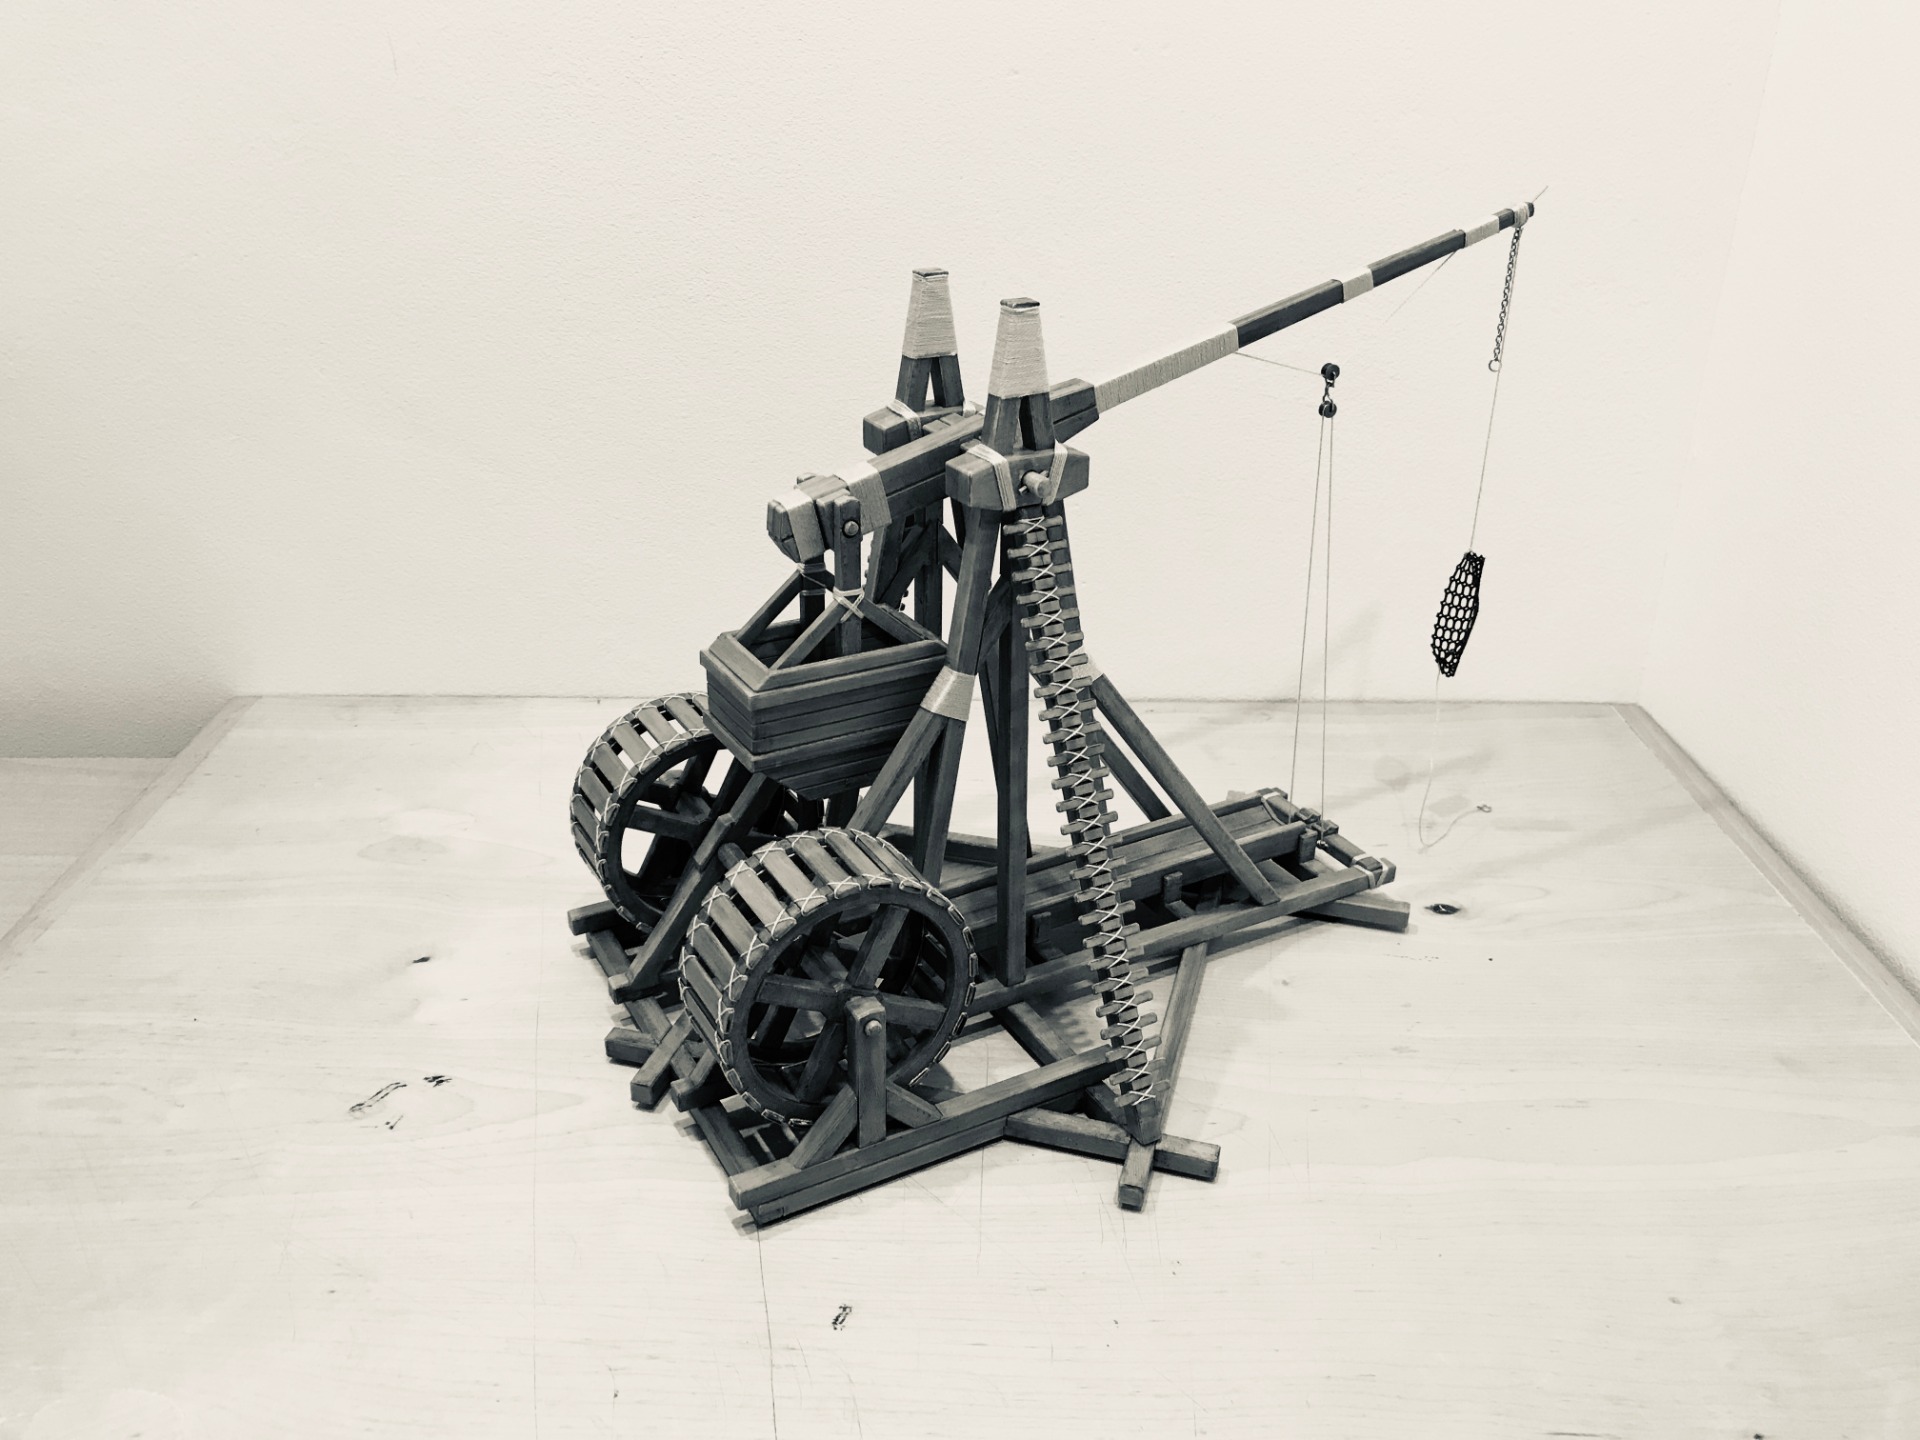
Trebuchet guide
Note: Press the F5 key to reload the page for the latest update 26.12.2024
Building guide
If you have a Dark Brown colored kit, then use only a scalpel to remove surpluses from print if you find any. No painting needed, just follow the building and winding of the thread.
The following construction was done with an Ivory colored kit which is currently being replaced by Gray-white due to market unavailability and assumes that the first layer is ready and the second one will follow by sections.
Therefore, the first fold BASE and MAIN STANDS and then repaint it again.
Paint other parts partially folded as it suits you.
MAIN STANDS and threads are best done by inserting one side of the thread into the joint and gluing the other with glue. Use needle if needed.
To assemble WHEELS, take a gray circle and place it under the wheel. It is used so that all boards have the same distance from the end after insertion. The shaft will bother you a bit, so do it on the corner of the table. Be sure to insert the spacer. The gray circle will help you to set a distance of laths from the edge. If you want to finish lashing ropes on wheels, do so before mounting.
26.12.2024 UPDATE - press f5 to see all pictures - Some printed wheels around christmas made on the new type of printer have less space for inserting the boards than originally intended. The wheels are therefore difficult to fold and here are some tips on how to make it easier. I apollogize for trouble, parts are fixed for some time now. In case you breake something and dont have spare then contact me via this page or Etsy shop and I send you spare for free.
1. easier way is using a triangular file, enlarge the space for the boards in a few movements according to the picture
2. or sand both edges of the boards with fine sandpaper
3. finally, you can use a small hammer or similar tool to insert the boards and gently tap the board into the correct position. Always tap on boards against table. Hammer is just ilustrative, use smaller one if possible .)
More pictures...
Let's make a rope to cross from the thread. I recommend trying it first to make it look regular. There are more ways to do this so find the one that suits you. The needle can help.
One example:
Assembly BASKET according to picture and choose for yourself how much it will be exposed or covered. The last 3 parts on the basket are optional. You can also add a little thread to cover connected pieces.
For THROWING ARM use small pins to help make the precise connections. Before assembly, take the wire and make a small release stick at the end for projectile when firing. Use a chain from KIT and attach it. Otherwise use thread but the chain is better for reloading.
You can continue tying the rope. You can carefully spread parts with a screwdriver to anchor one side of the thread. Then glue the other end of the thread with instant glue.
To connect basket follow pictures. Parts are quite flexible so it shouldn't be a problem but do it carefully.
LADDERS and threads example.
Preparing WHEEL SHAFT for charging rope. The rope can also be threaded through the shaft with a needle without wire.
ASSEMBLY
Then prepare parts from the ramp for projectile as in photos and put whole parts together. Do not push everything to stop at the beginning. Leave a little will to make it fit better. Push perpendicular to the table. It should have a bit of resistance.
To complete the assembly of wheels, take small stands and push them to part from base. Carefully and together push into the base and insert the wheel into the hole. Do not forget to insert the shaft between the wheels.
Finally, take the main shaft with match and fix the basket with the arm. Add ladders and rough construction is now complete and you can go into details.
Details
PULLEYS for charging rope are made from the clip as follows. Insert one of them on the rope of throwing arm.
Or you can do just one pulley system. The hook is hung by a rope on arm.
Make a small eyelet for the other end of the charging rope and insert the second pulley. You can also add a little rope to the part behind the ramp.
For throwing NET use a small piece you have in the kit, color it black or brown by textiles marker, take the spring from pen and make eyelets as in photos for the thread. The model behaves more realistically when the thread is connected through eyelets. It can be also made from wire.
For the releasing mechanism use wire from the clip and create something similar like picture shows.
To prevent abrasions on the underside, just stick self-adhesive pads usually used for furniture. Paint it with a marker on black if you have different color and repair paint.
Finally...
The firing length of the model is influenced by projectile weight, counterweight, and angle of the small metal rod at end of the arm which releases the net. The weight of stone as a projectile should be around 2-4 grams and weight in counterweight around 80-90 grams. Under the stones in the basket, it is possible to insert several metal screws to make it harder and then rocks on top.
If the model will ride on the floor during the shot it weighs too much. Don't overdo it, it's still just model and have fun :)
If you have more questions please contact me.
© 2020 Created by Lukas Pydych. All rights reserved.
